How Many Moving Boxes Do You Need to Move? A Simple Guide
One of the first questions people ask themselves when preparing for a move is:
“How many moving boxes do I actually need?”
And yet, it’s surprisingly hard to answer.
Too few boxes, and you’re scrambling at the last minute. Too many, and you’ve wasted money, time, and space. The truth is, there’s no universal number that will work for everyone, but there is a reliable way to estimate what you’ll need based on your factors.
In this guide, we’ll break it down in a practical, stress-free way so you can plan your move with confidence (and fewer last-minute runs for boxes). Also, make sure to check out our move-in checklist for sound advice on what you need to do to move into your new pad!
The Short Answer: Average Moving Box Estimates
As a quick starting point, here’s a general estimate based on home size:
- Studio apartment: 15-25 boxes
- 1-bedroom apartment: 25-40 boxes
- 2-bedroom home: 40-60 boxes
- 3-bedroom home: 60-90 boxes
- 4+ bedroom home: 90-120+ boxes
These numbers assume a mix of small, medium, and large boxes but your actual needs depend on several important factors.
Let’s take a closer look.
What Affects How Many Boxes You’ll Need?
The number of boxes needed depends on several factors, including the size of your home, the number of rooms, and the amount of stuff you have.
Your Lifestyle
Two people living in identical apartments can need wildly different numbers of boxes.
If you’re the type of person who likes to keep things around “just in case” or you have creative hobbies with equipment or supplies, then you’ll probably need more boxes than someone living a more minimalistic lifestyle.
Are your closets packed or curated? Do you have a lot of books, decor, or seasonal items?
These questions can help you understand your packing situation and help you set the right expectations.
A maximalistic lifestyle definitely requires more boxes, so if you recognize yourself in these traits, expect to be at the higher end of the estimate.
How Long You’ve Lived There
Another important factor to consider is how long you’ve lived in your current home.
Even if it feels like you don’t have much stuff, belongings tend to accumulate over time, often without us noticing. If you’ve lived in the same place for ten years or more, it’s wise to plan for extra boxes. Basements, attics, and spare closets are especially easy to overlook, and they often hold items you won’t think about until moving day arrives.
The Number of People In Your Household
The number of people in your household also plays an important role in determining how many boxes you’ll need. More people usually means more clothing, shoes, personal items, and everyday essentials, all of which add up quickly when it’s time to pack. A home shared by a couple or a family will always require more boxes than a similar-sized space occupied by one person.
Transportation
Transportation and distance matter as well.
If you’re moving long-distance or using professional movers, your belongings may need to be packed more securely, which can increase the number of boxes required. Longer moves often involve sturdier boxes and more casual item separation to prevent damage, so it’s worth factoring this into your packing supply estimate when planning.
Moving Box Breakdown Based on Home Size
When it comes to planning a move, one of the first things to consider is how many boxes you’ll actually need. The answer depends mainly on the size of your home, the number of people living there, and the type of belongings you own.
While every move is unique, the following estimates can give you a starting point:
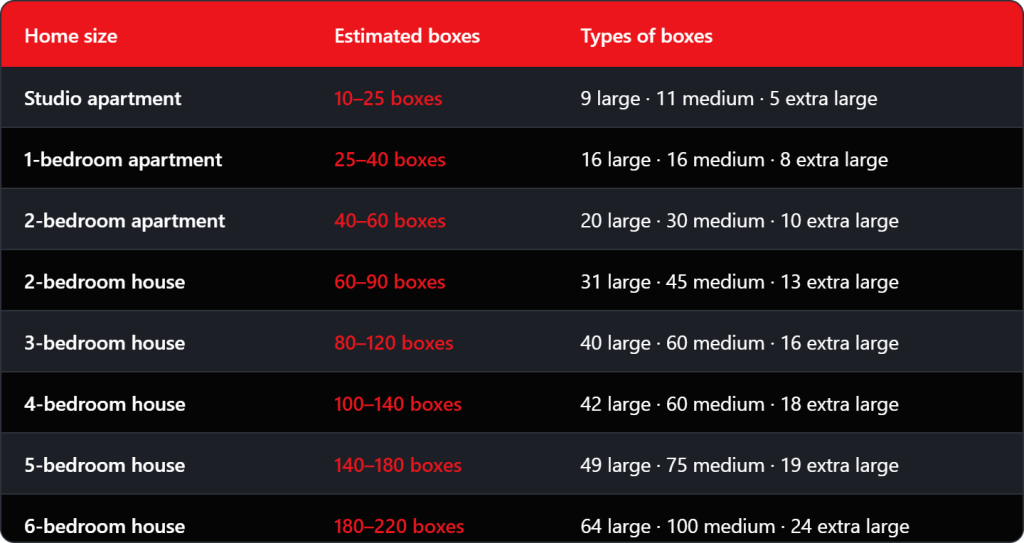
These figures are helpful as guidelines, but they are not set in stone.
Your lifestyle, your possessions, and storage habits will all influence how many boxes you actually need. A minimalist living in a 4-bedroom home may require far fewer boxes than suggested, while a tiny studio packed with books, collectibles, or hobby items might need more boxes.
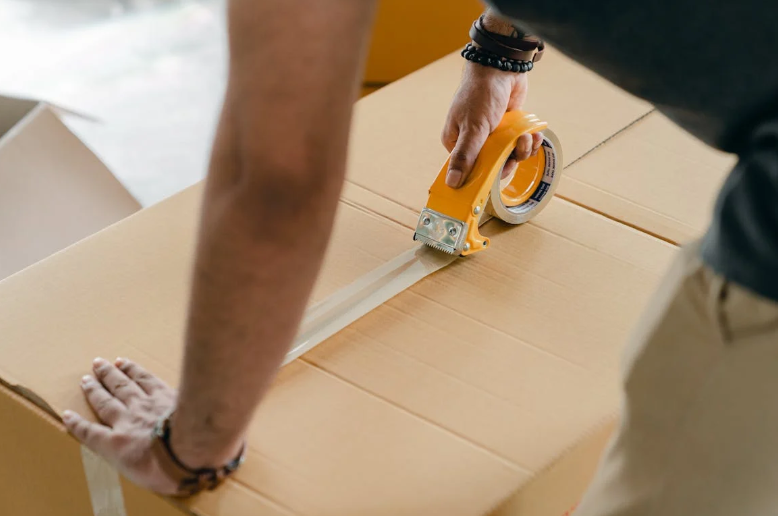
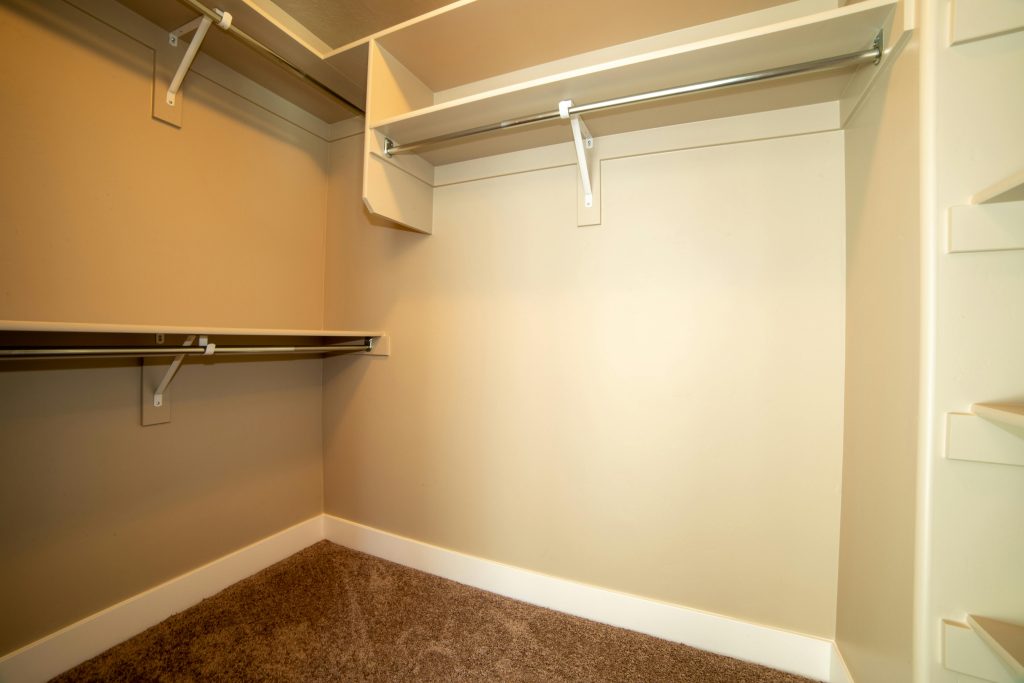
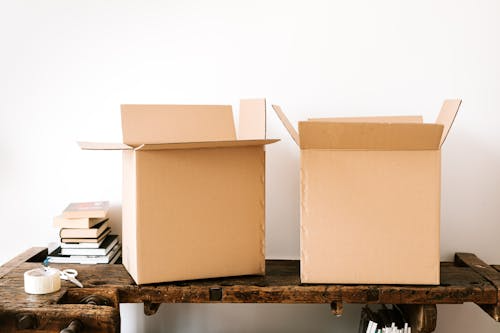
Choosing the Right Box Sizes (This Matters More Than You Think)
There are various types of moving boxes available, including small, medium, large, and extra-large boxes, each designed for specific items.
The size and type of boxes you choose can make a huge difference in how efficiently you pack and move your belongings. It’s not just about the number of boxes, but about choosing the right ones for your items.
- Small boxes (around 1.5 cubic feet) are perfect for heavy items, such as books or small appliances. They’re easier to carry and less likely to tear under weight.
- Medium boxes (1.5 to 3 cubic feet) offer versatility. They’re ideal for packing items like clothing, linens, and kitchen supplies. A good trick is to fill these boxes halfway with heavier items, like books, and top them off with lighter items, like towels or sheets.
- Large boxes (2.5 to 3.5 cubic feet) are best for lighter, bulkier items. Think pillows, blankets, or stacking smaller boxes inside. They’re great for consolidating many light items in one place without making them too heavy to lift.
- Extra-large boxes (3.6 cubic feet or more) work well for oversized or oddly shaped items, as well as for piles of lightweight belongings. Just be careful not to overfill them, or they’ll become difficult to move.
Before you start filing boxes, take a moment to assess what you actually own. Items vary in size, weight, and fragility, and your moving plan should reflect that. Knowing what you have will help you select the right type of boxes and the correct number of each size.
By combining smart estimates, the right box types, and careful planning, you’ll be much more prepared for moving day and it will make unpacking that much easier. Also, check out our blog on drive-up storage options in Northern Oklahoma!
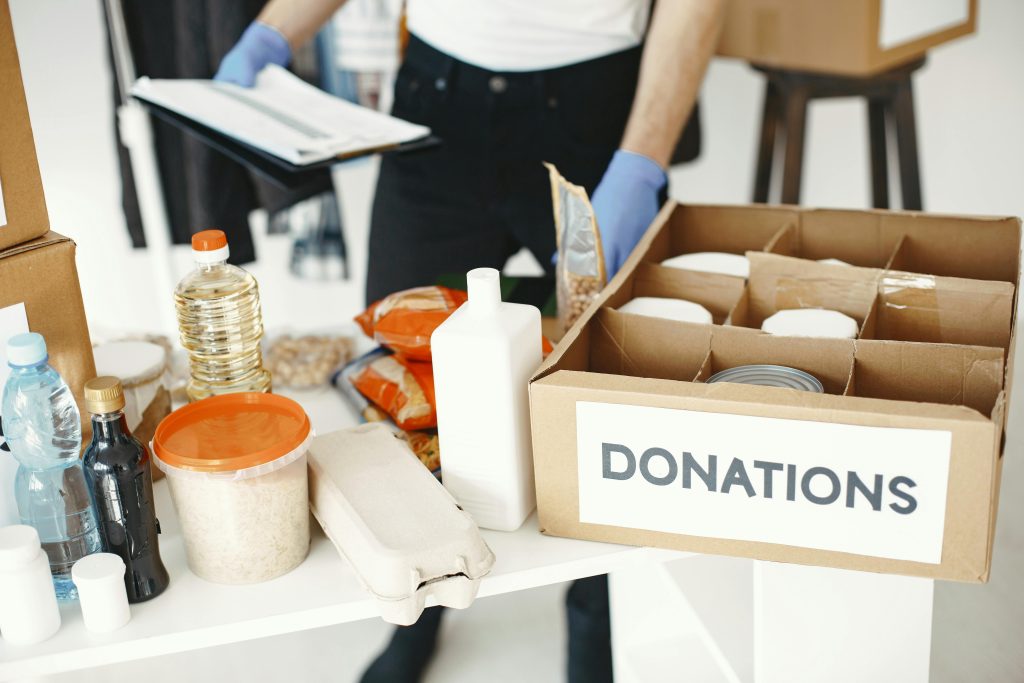
Specialty Moving Boxes
Sometimes standard boxes just won’t cut it. That’s where specialty boxes come in handy.
- Book boxes: If you have lots of books, 12” x 12” boxes (roughly 1 cubic foot) keep them manageable in weight while protecting them during transport.
- Dish barrel boxes: Fragile items like glassware and china benefit from these reinforced corrugated boxes. Always mark them “fragile” and avoid stacking heavy boxes on top.
- Wardrobe boxes: Perfect for hanging clothes, these extra-large boxes include an internal rod, so you can move clothes directly from your closet without folding them. They save time and prevent wrinkles, making closet packing much faster.
- Lamp boxes: They are designed to protect lamps and lampshades, which can be challenging to pack safely in standard boxes. Their tall, adjustable shape allows you to separate bases from shades and pad each piece properly to prevent cracks or dents.
- Mirror and picture boxes: These are flat, adjustable boxes made for framed artwork, mirrors, and large photos. They help prevent bending, cracking, or shattered glass and are especially useful for oversized or delicate wall decor.
Using specialty moving boxes where needed can make a big difference in protecting your belongings and reducing stress on moving day.
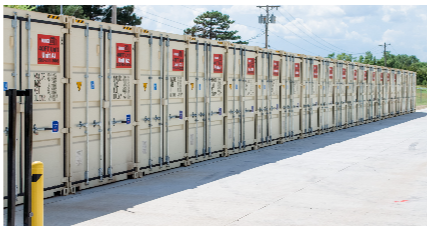
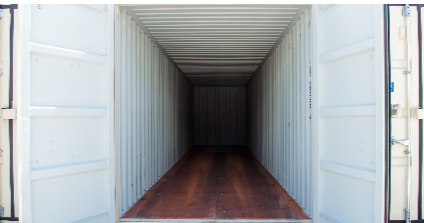
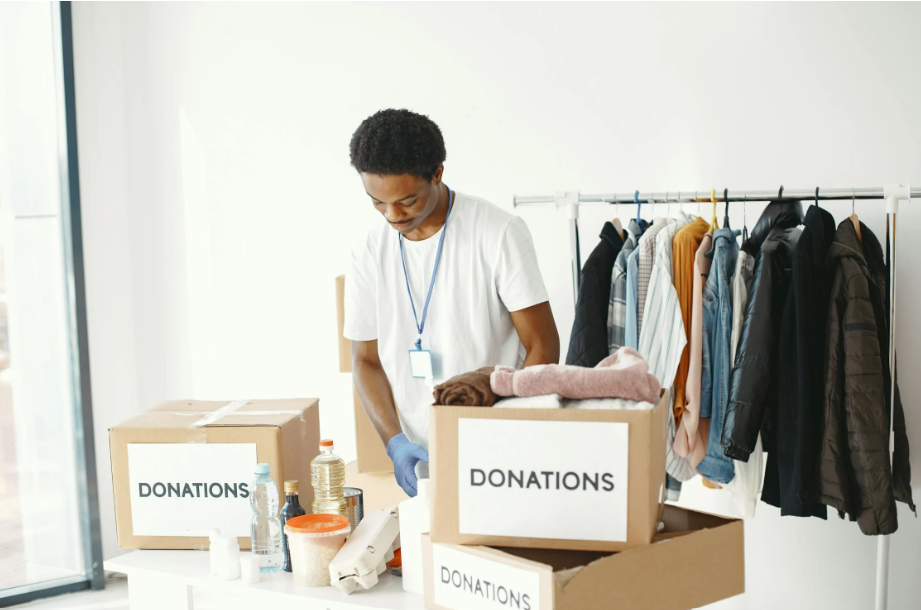
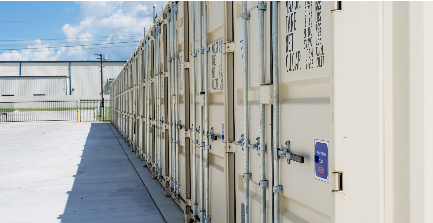
When to Consider Self Storage for Your Move
Sometimes, even the best packing plan and accurate box estimates aren’t enough to make a move completely stress-free. That’s where self-storage can make a big difference.
If your new home isn’t quite ready yet, or if you need to move out before you can fully unpack, a storage unit gives you the extra space to keep your belongings safe and organized.
Self-storage is also a smart option if you’re downsizing, renovating, or simply want to unpack gradually without feeling overwhelmed. By temporarily storing boxes and larger items, you can take your time arranging your new home exactly the way you want it while keeping your possessions secure.
Even for smaller moves, self-storage can be helpful for items you don’t use every day, seasonal belongings, or fragile items that need extra care. Knowing you have a safe place to store your things lets you focus on the move itself without the stress of overcrowding your new space.
In short, storage is a flexible, practical tool that can make any move smoother, calmer, and much more manageable.
Final Thoughts: Plan Smartly, Pack Calmly
So, just how many boxes do you need?
The honest answer is that it depends, but not in a way that’s impossible to estimate. What matters most is having enough boxes to pack comfortably without rushing or overloading boxes just to make everything fit.
By thinking realistically about your home, your belongings, and how you live, you can arrive at a number that works for you.
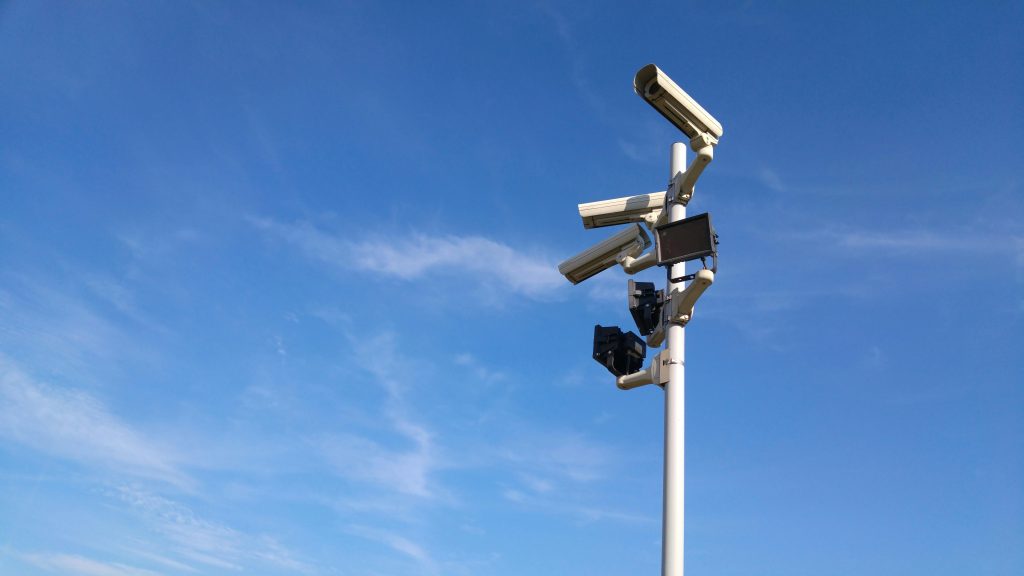
We know moving can be exciting and overwhelming, and we’re here to help. At My Storage Box, we offer secure, affordable storage solutions with 24/7 access, video monitoring, and gated entry, so your belongings stay safe every step of the way.
Ready to make your move easier? Call us at (580) 300-3006 or reserve your unit online today. Also, make sure to check out our pricing ahead of time.